Menu
☰ from any screen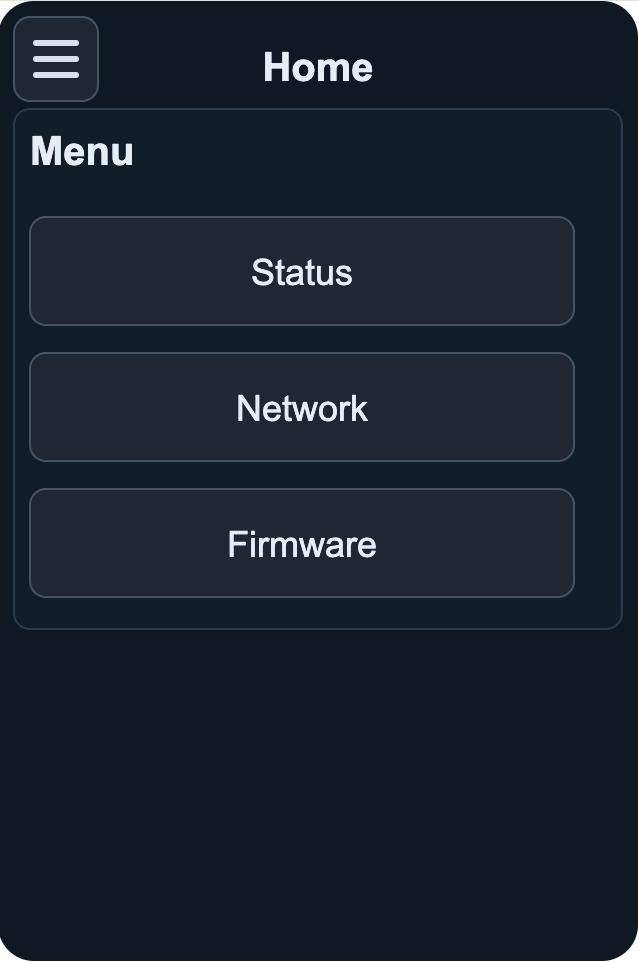
Menu
Three buttons, always in this order: Status, Network, Firmware. Each opens its own screen with a Back button in the top right to return here.
Every screen on the keypad has a ☰ icon, top-left. Tap it and you get three buttons: Status, Network, Firmware. Unlike the setup pages, there's no order here — this is somewhere you'll come back to over the life of the device, not something you do once.
Look something up as you need it. Jump straight to a section, or scroll through all three.
Three buttons, always in this order: Status, Network, Firmware. Each opens its own screen with a Back button in the top right to return here.
Status
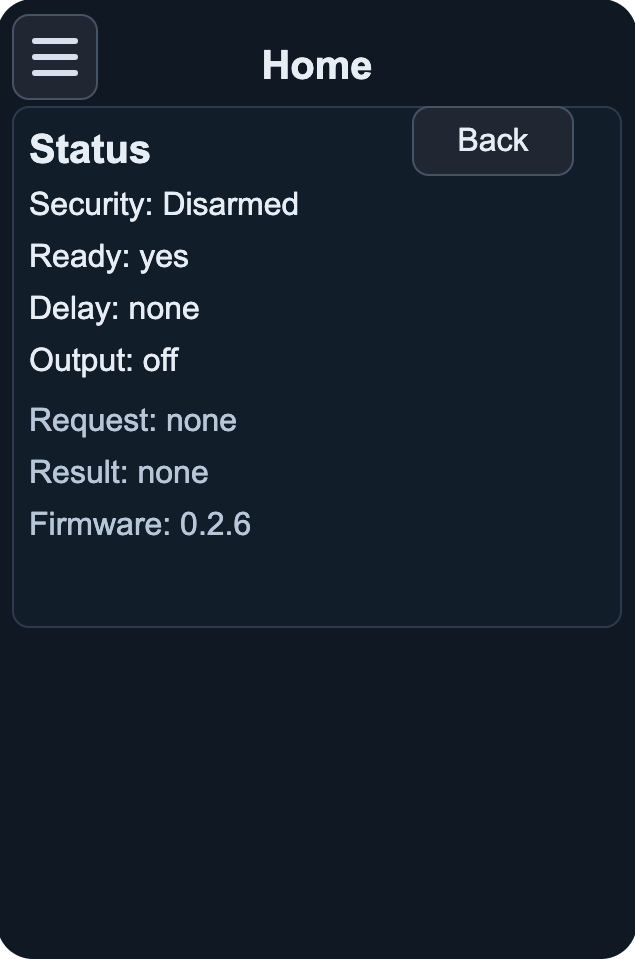
Read-only — nothing here can be changed, only checked. Useful when something's not updating and you need to see what the keypad currently believes, independent of what Hubitat or HSM believe.
none otherwise.Network
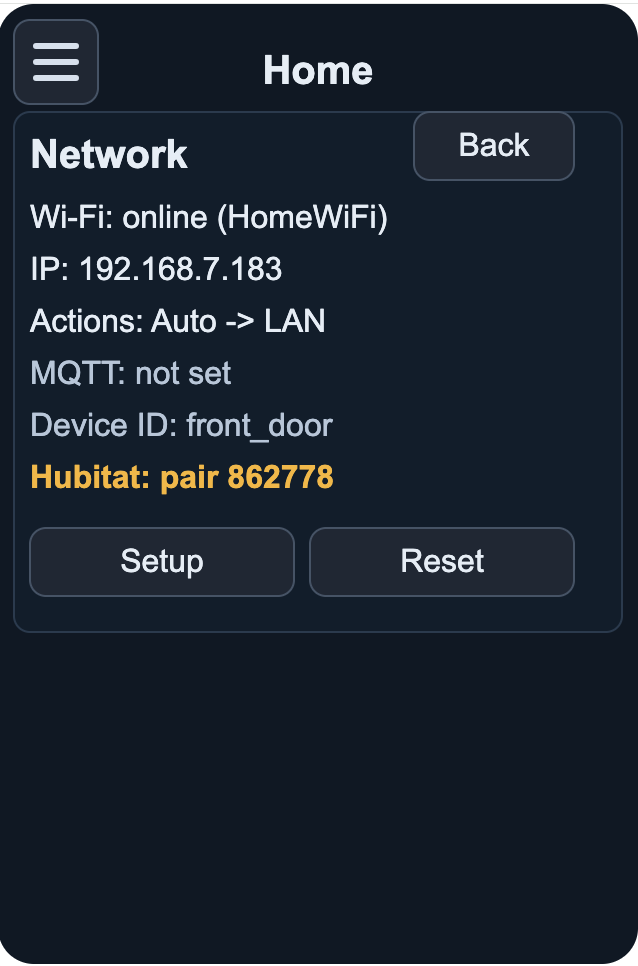
Auto -> LAN means the keypad resolved its own transport to Hub Direct. If MQTT were active instead, this would read Auto -> MQTT.not set confirms no broker is configured — expected on a Hub Direct setup.This is the exact screen referenced in the setup guide's step 7 — IP and pairing code, read from here, typed into Hubitat.
Setup
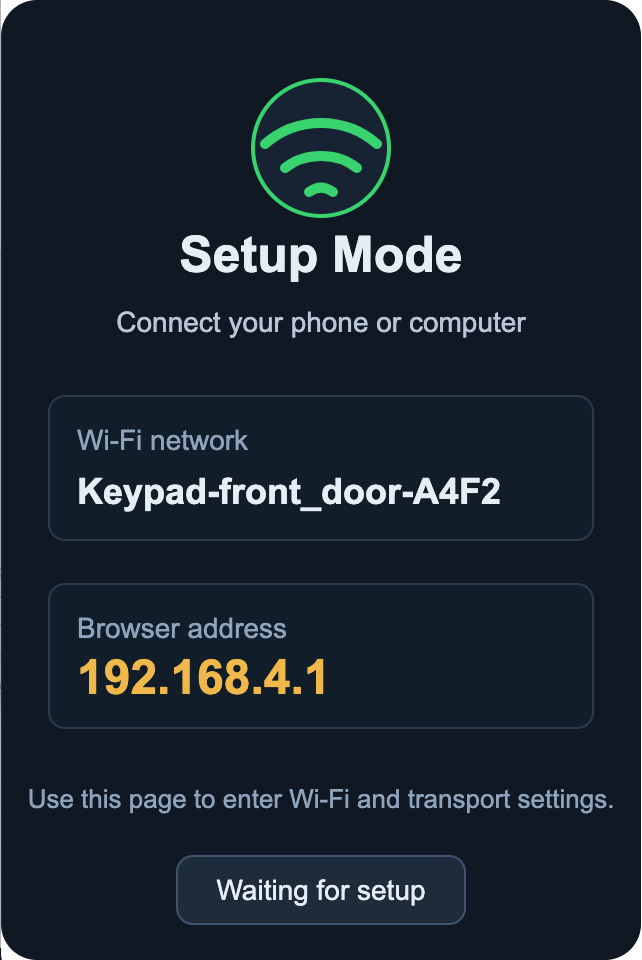
Opens the same Wi-Fi and transport form shown when the keypad first boots into AP mode — Device ID, Wi-Fi credentials, MQTT broker, Hubitat LAN action URL. Covered in full in the setup guide.
Reset
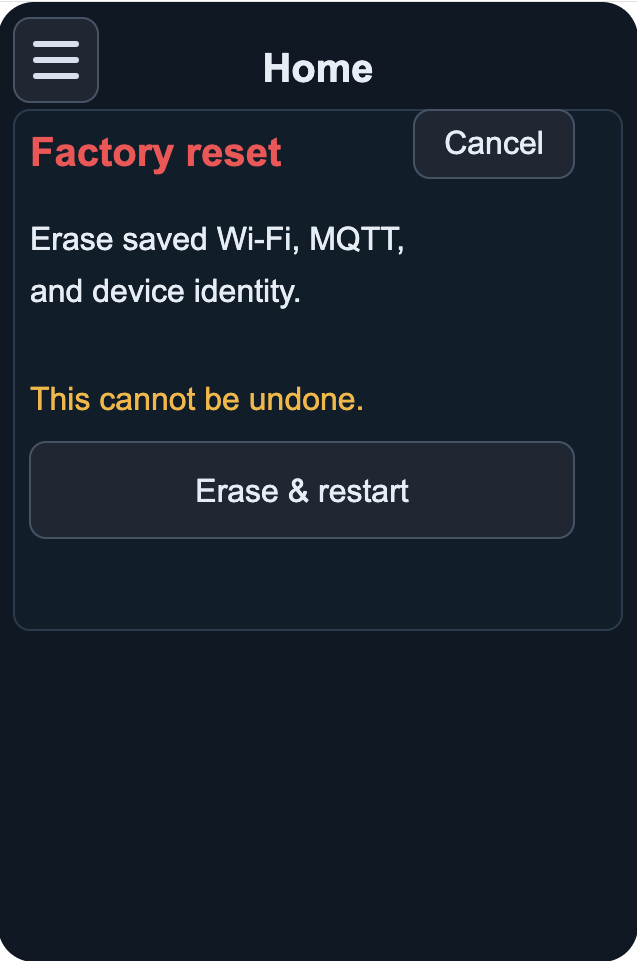
Erases saved Wi-Fi credentials, MQTT settings, and device identity (the Device ID), then restarts the keypad straight back into AP mode — as if it had just been flashed for the first time.
This cannot be undone. Use it when repurposing a keypad, handing it off, or starting completely over. It does not erase the firmware itself — no need to re-flash, just re-run setup guide steps 5 and 6.
Firmware
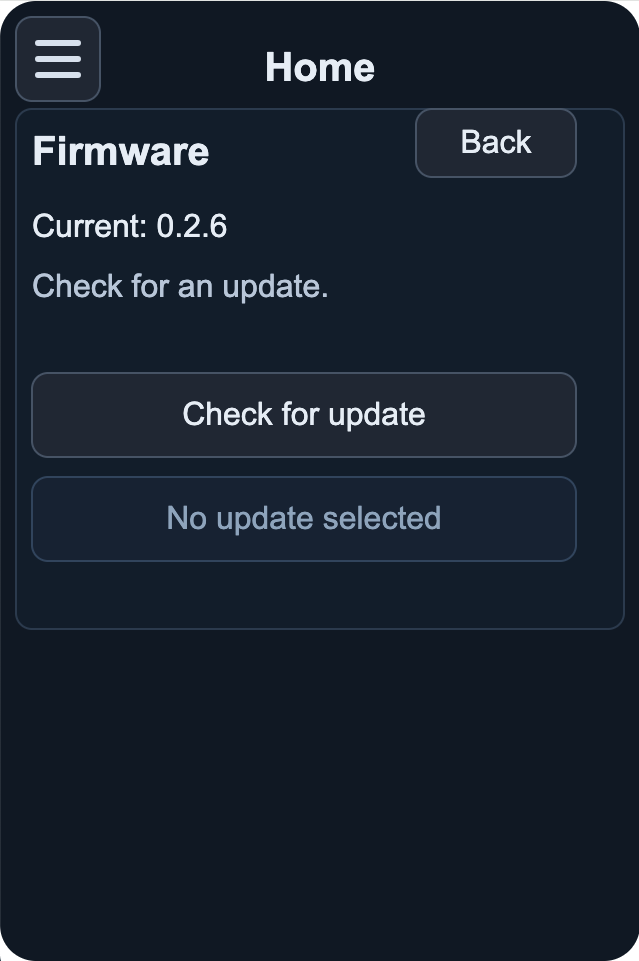
This is the OTA update screen — the whole reason a brand-new ESP32's bare bootloader only mattered once. From here on, updates happen wirelessly, no USB cable or computer required.
No update selected button below.Only comes into play after the initial flash from the setup guide — that first pass is the one time a data cable is required.