Adding controls you can tap
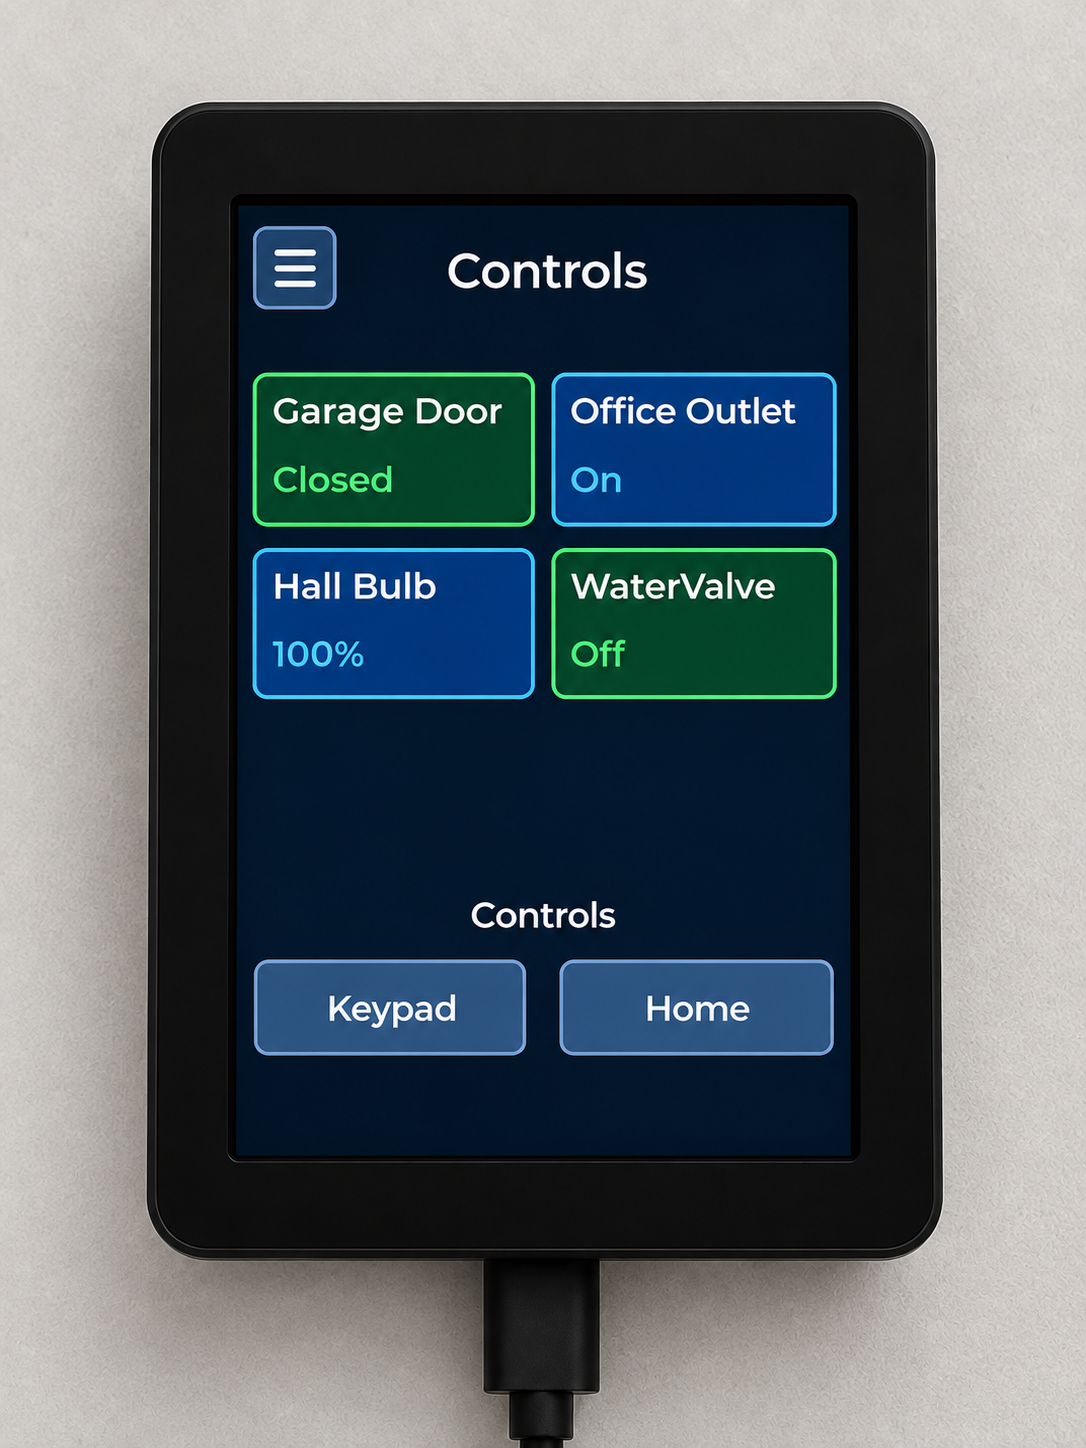
The Summary Dashboard is read-only — tapping a tile does nothing. Controls Dashboard is the opposite: a second button on the same app page, for tiles you actually operate. Same app instance as the rest of setup, one more click deeper.
On the Dashboard app's main page — the same one from step 3 of the setup guide — tap Controls Dashboard, the button below Summary Dashboard.
Six slots, one device each
Control slot 1–6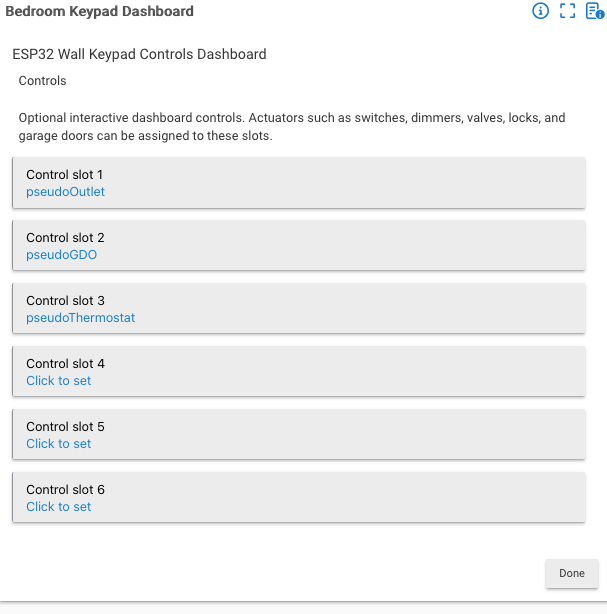
Six independent slots, each a picker. Whatever device you assign to a slot determines both what shows and where it lands on the keypad — Control slot 1 is the first tile, and so on.
Actuators only
enforced by the pickerTap Click to set on any slot and the device list only shows devices with Hubitat's Actuator capability — switches, dimmers, valves, locks, garage door openers, and similar. This isn't a rule to remember; the picker itself won't offer anything else.
Where it lives
one swipe past SummaryThree swipes end to end. Same rule as before — no direct swipe between non-adjacent screens, only through the one next to it.