Turning the keypad into a summary dashboard
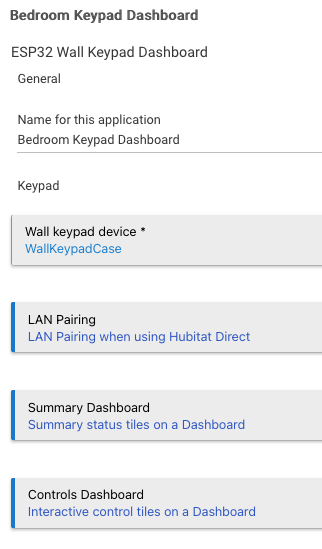
The keypad doesn't have to just arm and disarm — it can show a rotating summary of your home's doors, locks, leaks, temperature, and more. This is the same ESP32 Wall Keypad Dashboard app instance from step 3 of the setup guide; the fields below sit one click deeper, inside a button on that same page.
one click deeper
On the app's main page, tap Summary Dashboard — the button below LAN Pairing. That opens everything below. No new app to create.
Name it to match
Dashboard id / titleThe same word you've used everywhere else — front_door. One ID, used on the keypad, the driver, and here.
What actually shows on screen as the dashboard's heading, e.g. Home. This one's just a label — it doesn't need to match anything.
Three toggles
do what they say- Include Hubitat Safety Monitor statusAdds a tile showing HSM's current state.
- Mirror Hubitat Safety Monitor state and alerts to keypadLets the keypad reflect and respond to HSM directly — this is what makes the "ARM / PARTIAL" screen actually mean something.
- Include Hubitat modeAdds a tile for the Hub's current mode (Day, Night, Away, etc).
Choose what shows up
six selector categoriesEach selector below picks which devices feed that category's tile. The names shown here — pseudoContact, pseudoLock — are just placeholder/test devices; you'll pick your own.
Ordering the tiles
Tile orderA comma-separated priority order — contacts,locks,leak,switches,temp,power,mode,hsm by default. Six tiles fit on screen at once; select more devices than that and they group into additional pages, in this order, which you reach by swiping up or down.
1/1, 1/2, and so on in the dashboard's top-right corner — see the screenshot below.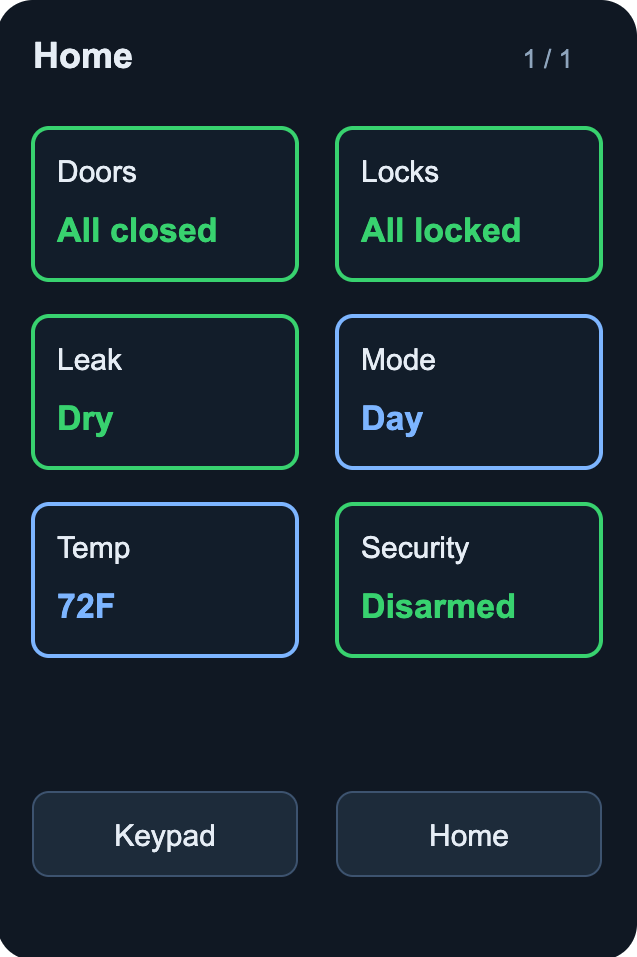
What lands on the keypad
Six categories in, six tiles out — Doors, Locks, Leak, Mode, Temp, and Security, in this example. Each tile's color follows the state it's reporting, the same way the keypad's arm/disarm screen does.
Finishing up
Publish dashboard now pushes the current configuration to the keypad immediately — use it to preview changes without waiting. Done does the same thing, but also closes the app.