From bare ESP32 to a working Hubitat keypad
The ESP32 Wall Keypad doesn't join your network the way a Zigbee or Z-Wave device does. There's no pairing button — it's a Wi-Fi device, which means one real setup pass: flash it, connect it, tell it how to talk to Hubitat. This page walks through what that pass involves before you start it.
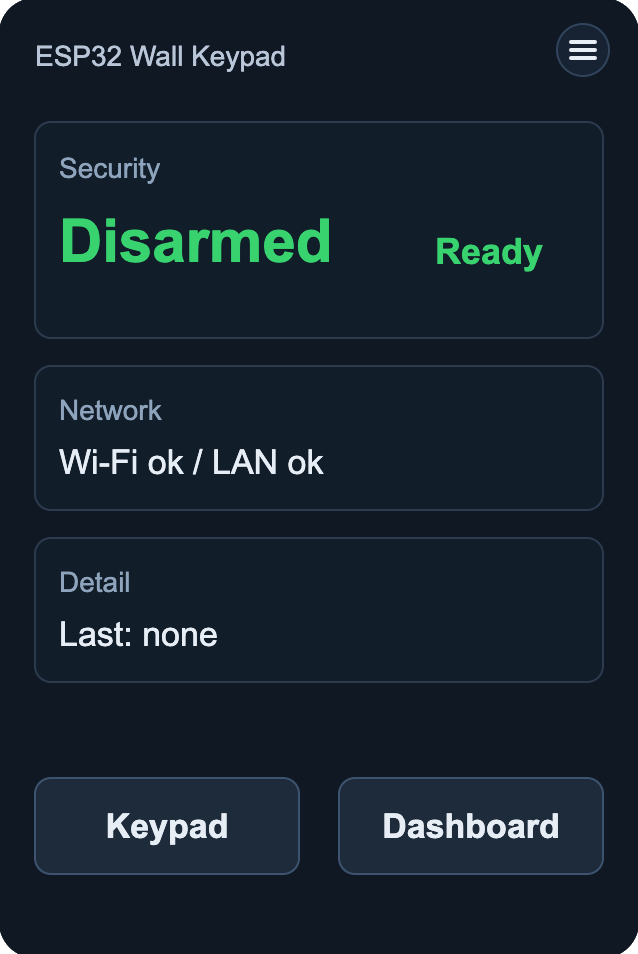
This is the one time you'll do this. A brand-new ESP32 only has a low-level boot loader — no app on it yet. Once the keypad is flashed and running, it can update itself over Wi-Fi from then on. Everything below is the one-time bootstrap that gets it to that point.
What you're actually flashing
320×480 · IPS · 262K color · QSPI · Wi-Fi + Bluetooth 5
amazon.com/dp/B0FB2ZWXGJ
Before you touch the keypad
on Hubitat- Install the ESP Keypad package (App + Driver) via HPM — this is the recommended route. HPM installs the code itself. You still need to create the device: a new virtual device using the ESP32 Wall Keypad driver.
- Create a Dashboard app instance and point it at that keypad device. The Driver handles the ongoing communication, over MQTT or Hub Direct. The App is where you configure the keypad and build dashboard summaries.
- If you plan to use Hub Direct, enable OAuth for the Dashboard app's code. Hubitat requires this manual step before a direct connection will work — easy to miss since MQTT setups never need it.
The flash
on your computerOnce the Hub side is ready and you've confirmed the board itself is working, four things turn it into an ESP Keypad:
Connect the keypad to your computer with a USB-C data cable. You'll only need a data cable for this step — power-only or a battery is fine afterward.
Open the ESP Keypad installer in Chrome or Edge — Web Serial isn't available in Safari or Firefox.
Click Install and pick the keypad's serial port. Leave the tab open and the cable connected until it finishes.
The keypad reboots into its own Wi-Fi access point and a captive portal. If the portal doesn't open on its own, browse to http://192.168.4.1.
Two ways to connect
chosen at setup, not fixed foreverThe keypad's screen shows a unique AP name starting with Keypad- — connect your phone to it, then give it your Wi-Fi network and password on the setup page. From there, it can reach Hubitat one of two ways.
Via a broker
For setups already built around MQTT.
- Broker IP address
- Broker username / password, if it requires one
Straight to Hubitat
No broker involved — the keypad talks to the Hub directly. Nothing to enter here yet.
- Save & restart, then pair from the keypad's Network menu (IP + pairing code) into the Dashboard app
- Requires OAuth to already be enabled — see "Before you touch the keypad"
It doesn't have to look like an alarm panel
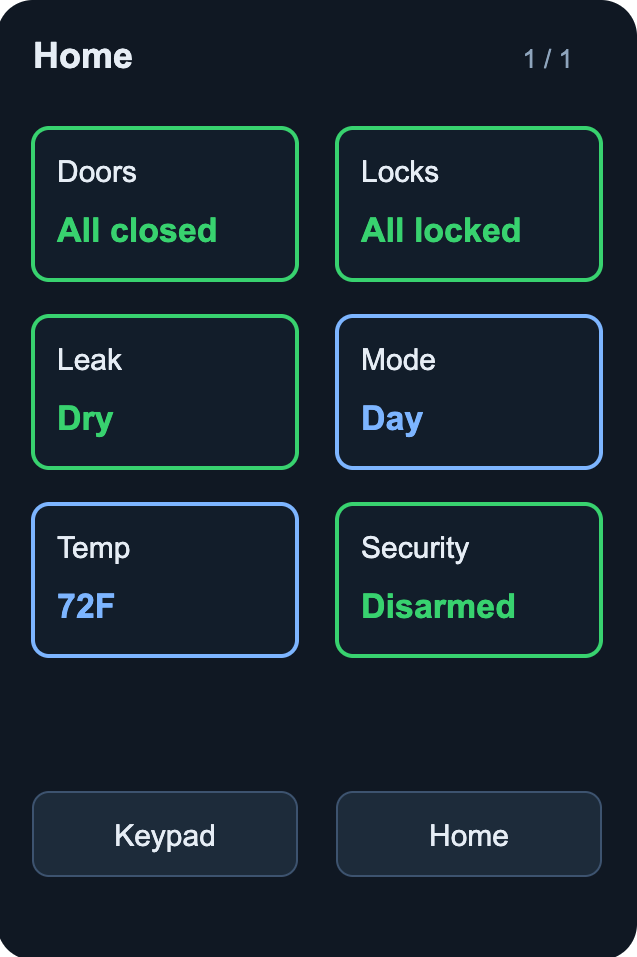
Same hardware, different job
The touchscreen started as an arm/disarm panel because that's the first thing it needed to do. Underneath, it's just an ESP32 with a display — the App can just as easily drive a tile-based dashboard, like the status summary shown here. The setup below is the same either way; what you build on top of it is up to you.